Introduction to the Labs and Work Environment Setup#
This course includes lab hours where we will tackle practical data analysis manipulations. All labs will be conducted using the Python language and Jupyter notebooks (either through a local installation or Google Colab). We will start by seeing how to set up the work environment.
Installing Python#
In this course, we will use the Python language. We choose Python as it is a modern, widespread, multi-platform, portable, easy-to-use, and elegant language that features an interactive mode. This last feature will be very useful for experimenting with code and learning how the language and its libraries work.
Python is a highly modular language: some basic functionalities are included in the language, while many others are provided by third-party packages, managed through a dedicated package manager called pip. To have a ready-to-use work environment for data analysis applications, we will use a distribution called Anaconda. It should be noted that in the past there were two branches of Python: 2.x and 3.x. Today, 2.x is no longer used. The Anaconda distribution used at the time of this writing will install Python 3.x.
Let’s download the distribution for our platform from the following link: https://www.anaconda.com/products/distribution and install it. Once this is done, we should be able to access a terminal with access to the executables made available by Anaconda. Specifically:
On Windows, the “Anaconda Prompt” program will be available;
On MacOS and Linux, the executables should already be in the user’s path, so it should be sufficient to open a standard terminal.
If Anaconda has been installed correctly, the indication (base) will appear before the command prompt, as shown below:
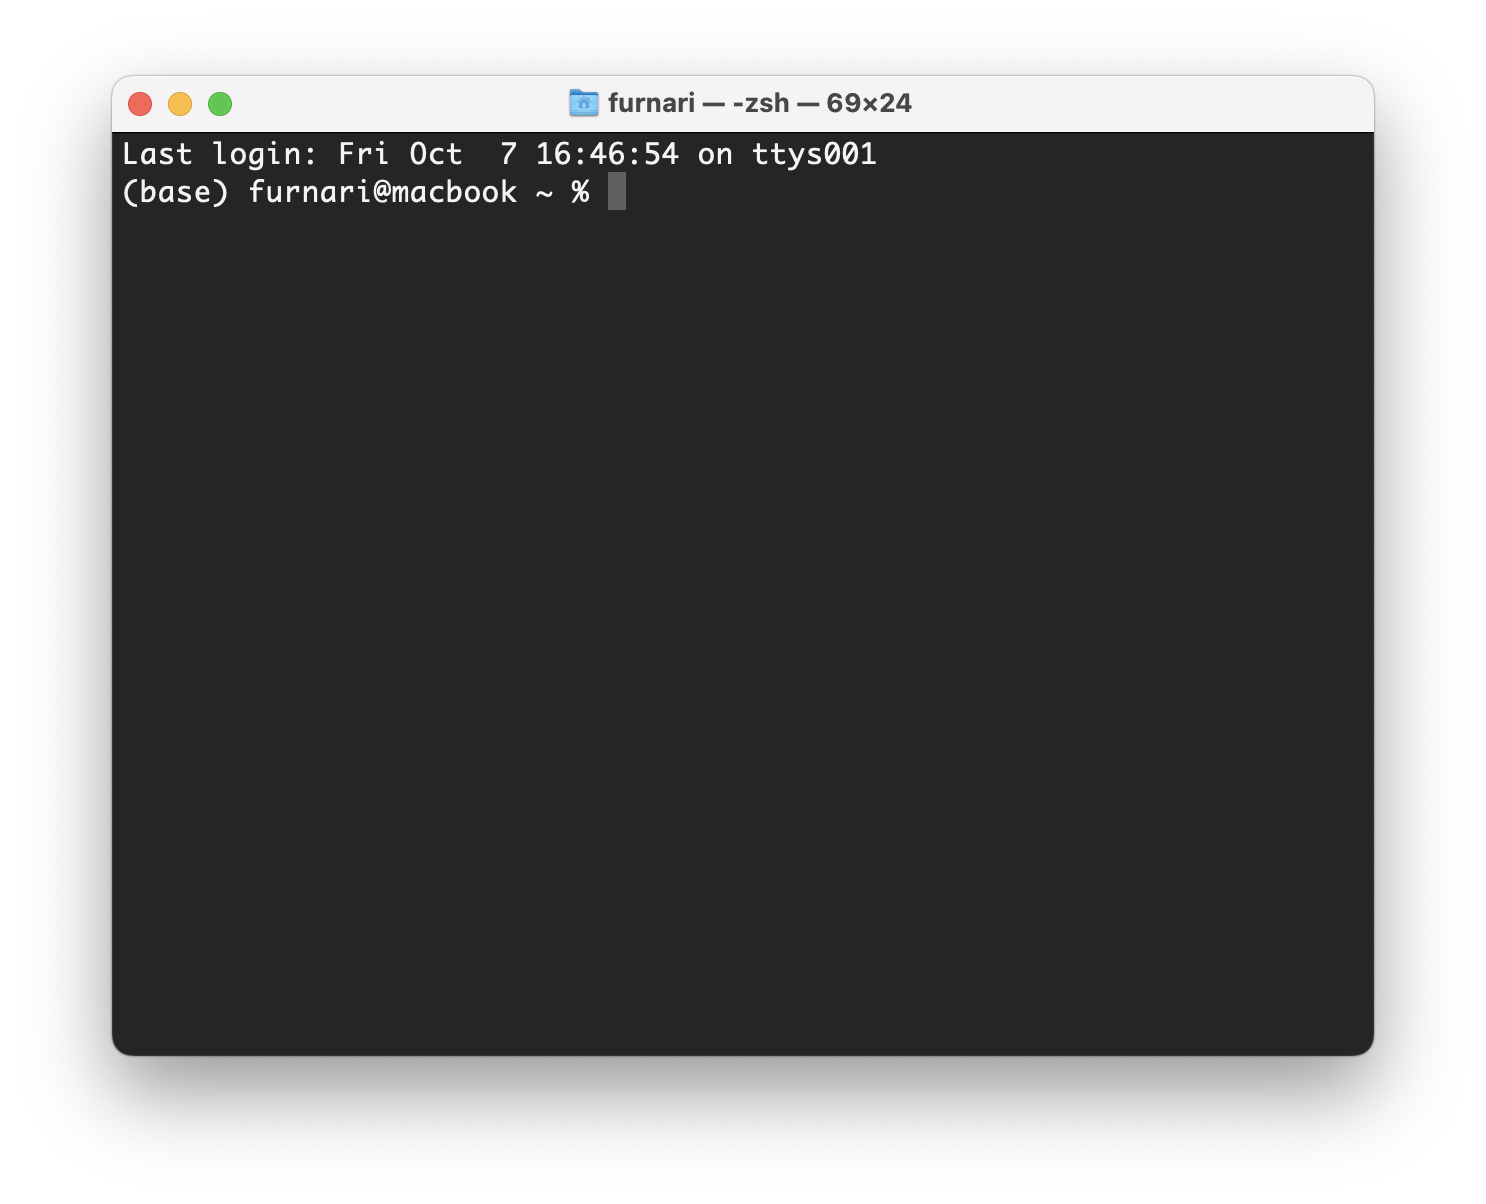
(base) indicates the environment (by default, it’s the base environment) in which we are operating. Indeed, Anaconda allows you to define and use different environments that are independent of each other, in which you can install different packages (even different versions).
Programming in Python#
Several tools will be installed with Anaconda. Among them:
The Python interpreter;
The ipython interactive shell;
The Spyder IDE;
Jupyter Notebook.
Python Interpreter#
The Python interpreter allows you to run a Python program using a command like:
python program.py
Where program.py is the source text file of the program. On the first run, Python will compile the program and generate a bytecode file program.pyc.
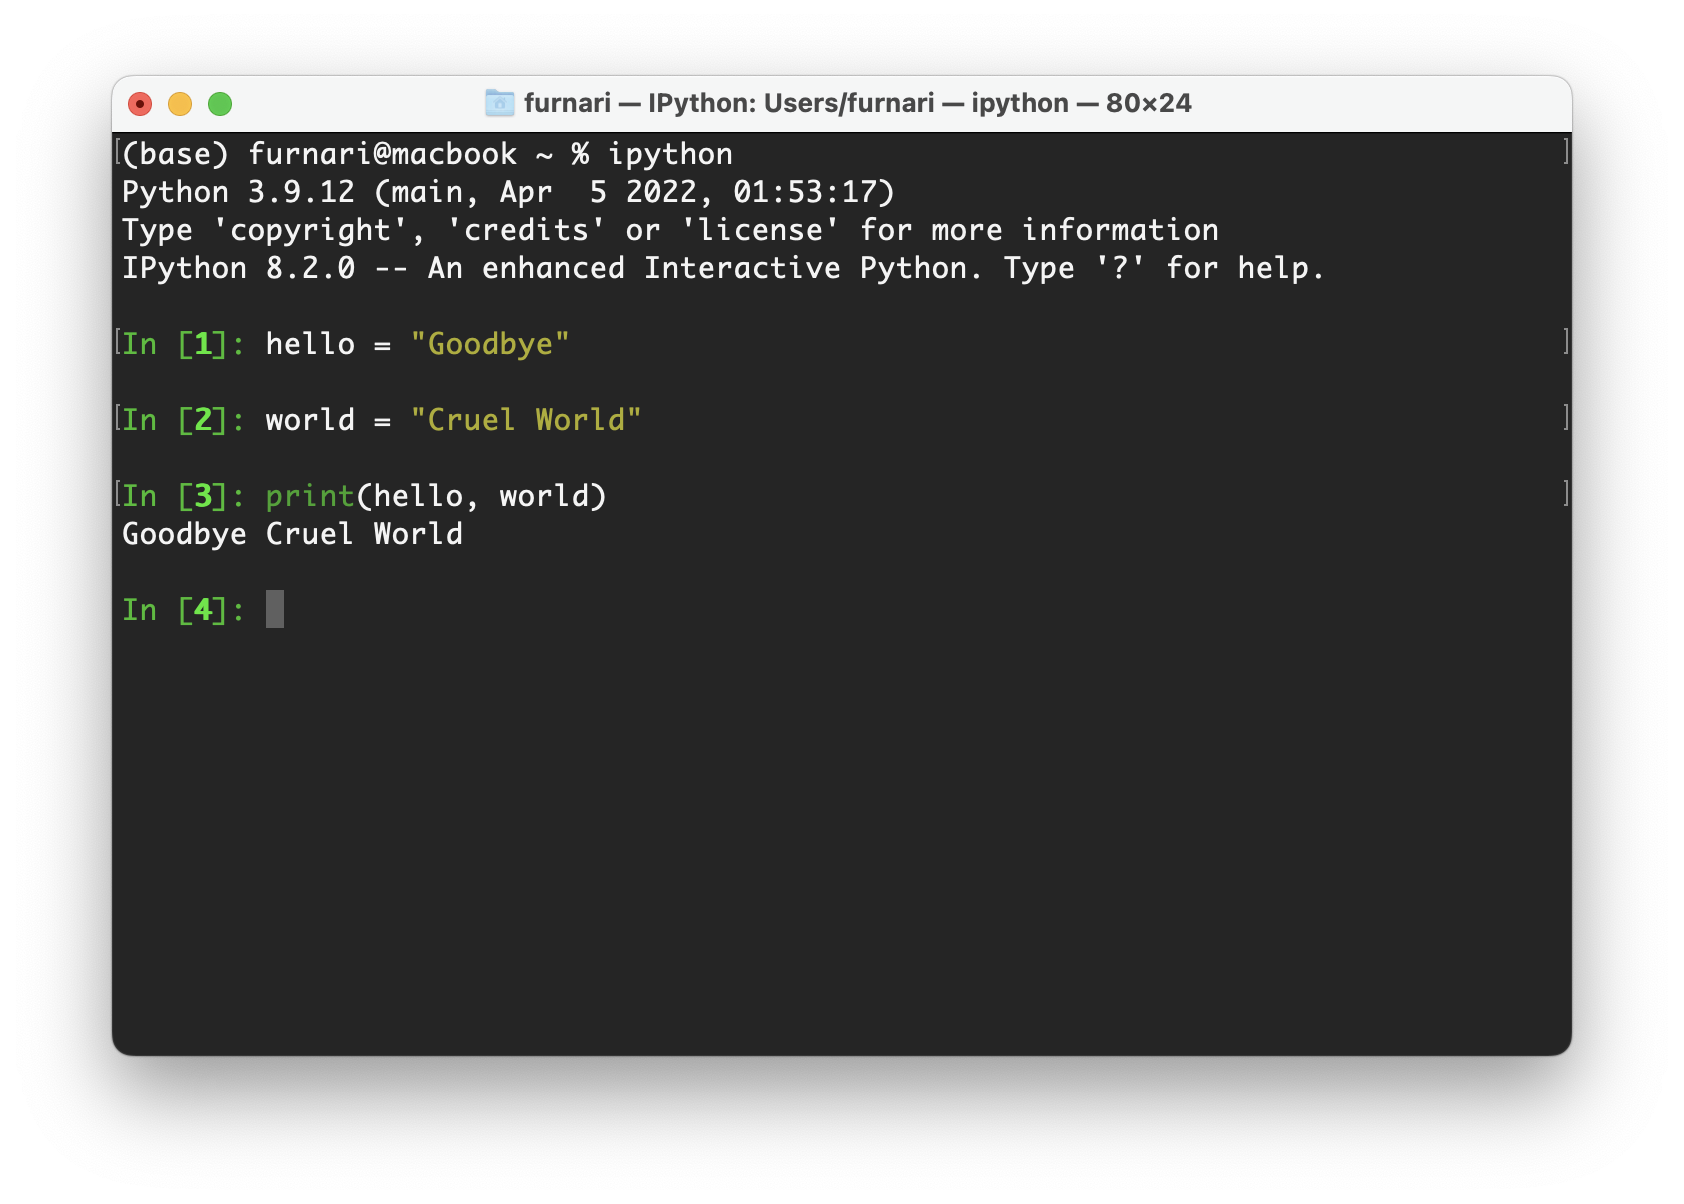
ipython Interactive Shell#
The interactive shell is a more “advanced” version of the Python interpreter that allows you to:
Interpret commands;
Run Python programs;
Analyze the content of workspace variables;
We can launch the interactive shell with the ipython command:
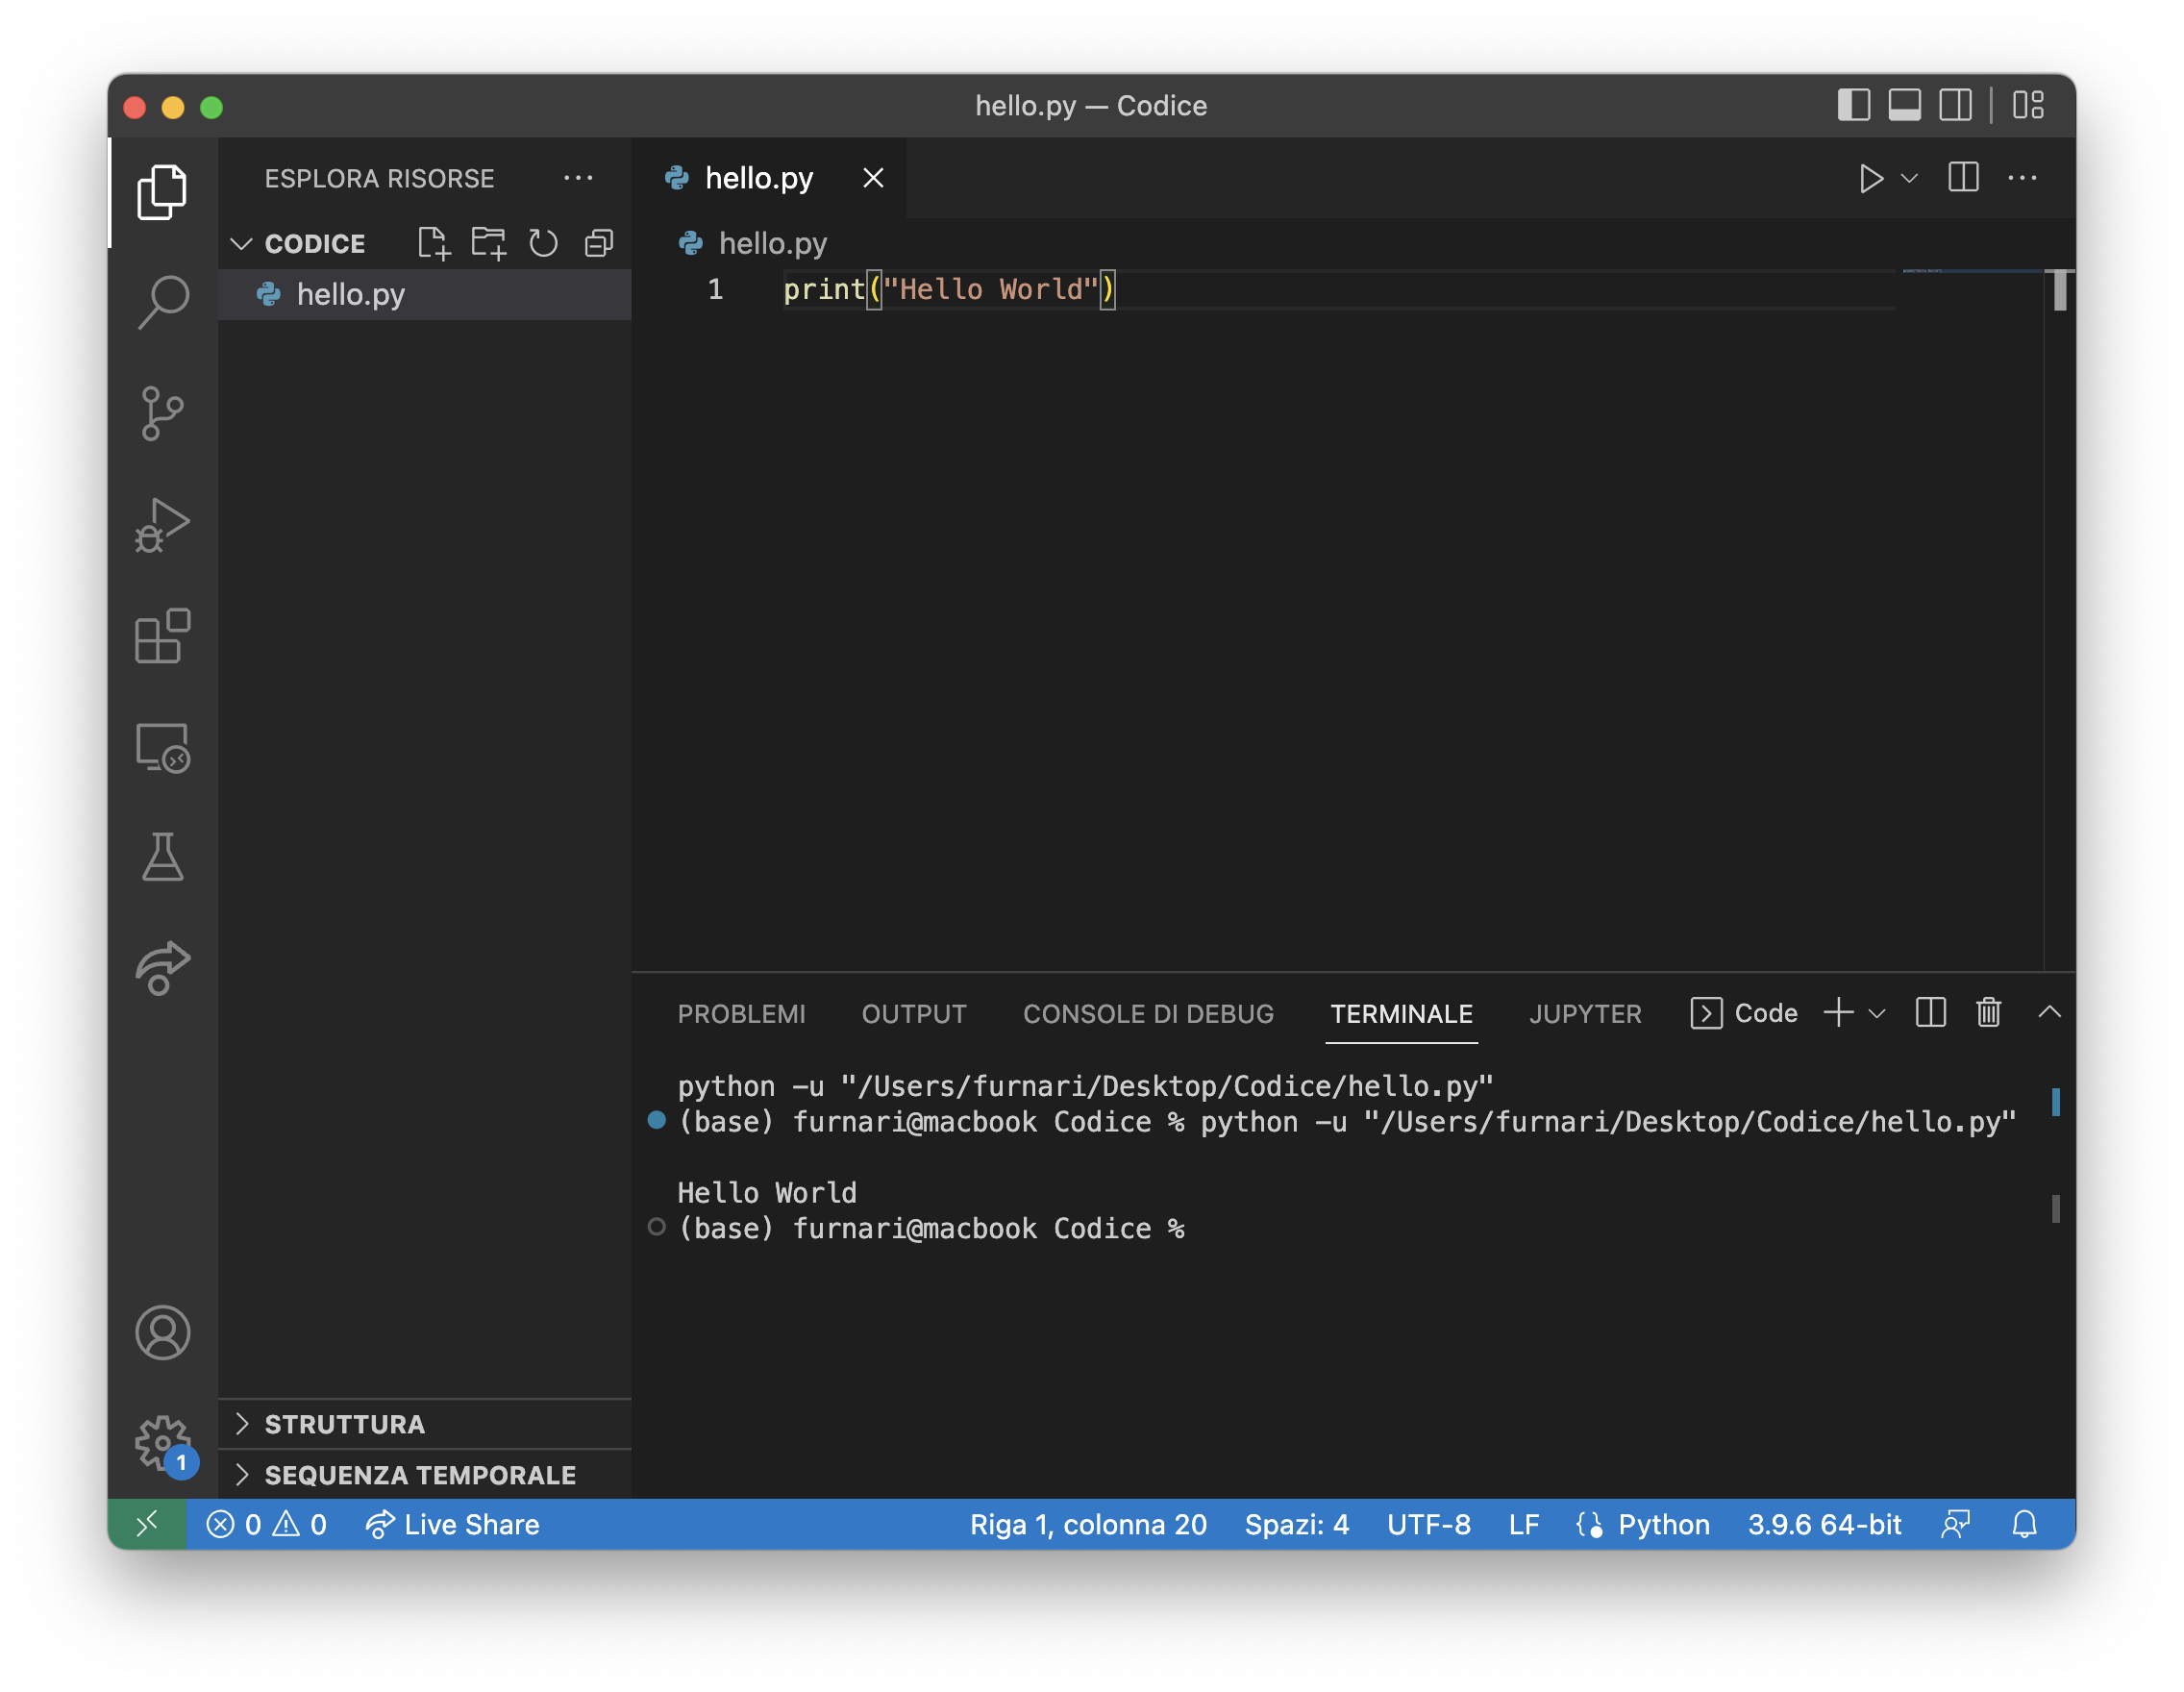
IDE#
An IDE generally integrates an ipython shell and various debugging tools. It is an excellent tool for medium to large-sized projects. A widely used IDE for Python programming is Visual Studio Code.
Jupyter Notebook#
You can start Jupyter with the command:
jupyter notebook
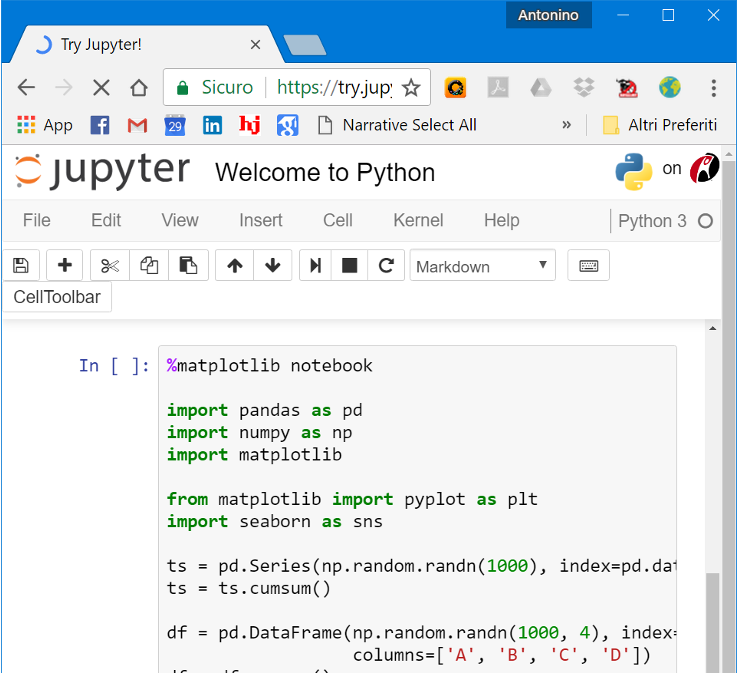
Jupyter allows you to create (via a web interface) “notebooks,” which are files containing:
Formatted text;
The code to be executed;
The images obtained as results of the code’s execution.
It is a very powerful tool, as it allows for the generation of actual experimental reports.
IDE vs Notebook#
One might wonder when it is useful to use one tool over the others.
IDEs are great for:
medium or large projects, with multiple modules and classes;
interactive computation (e.g., processing a video in real time).
Jupyter Notebooks are great for:
documenting data analysis processes;
experimenting with new ideas;
writing documentation and tutorials.
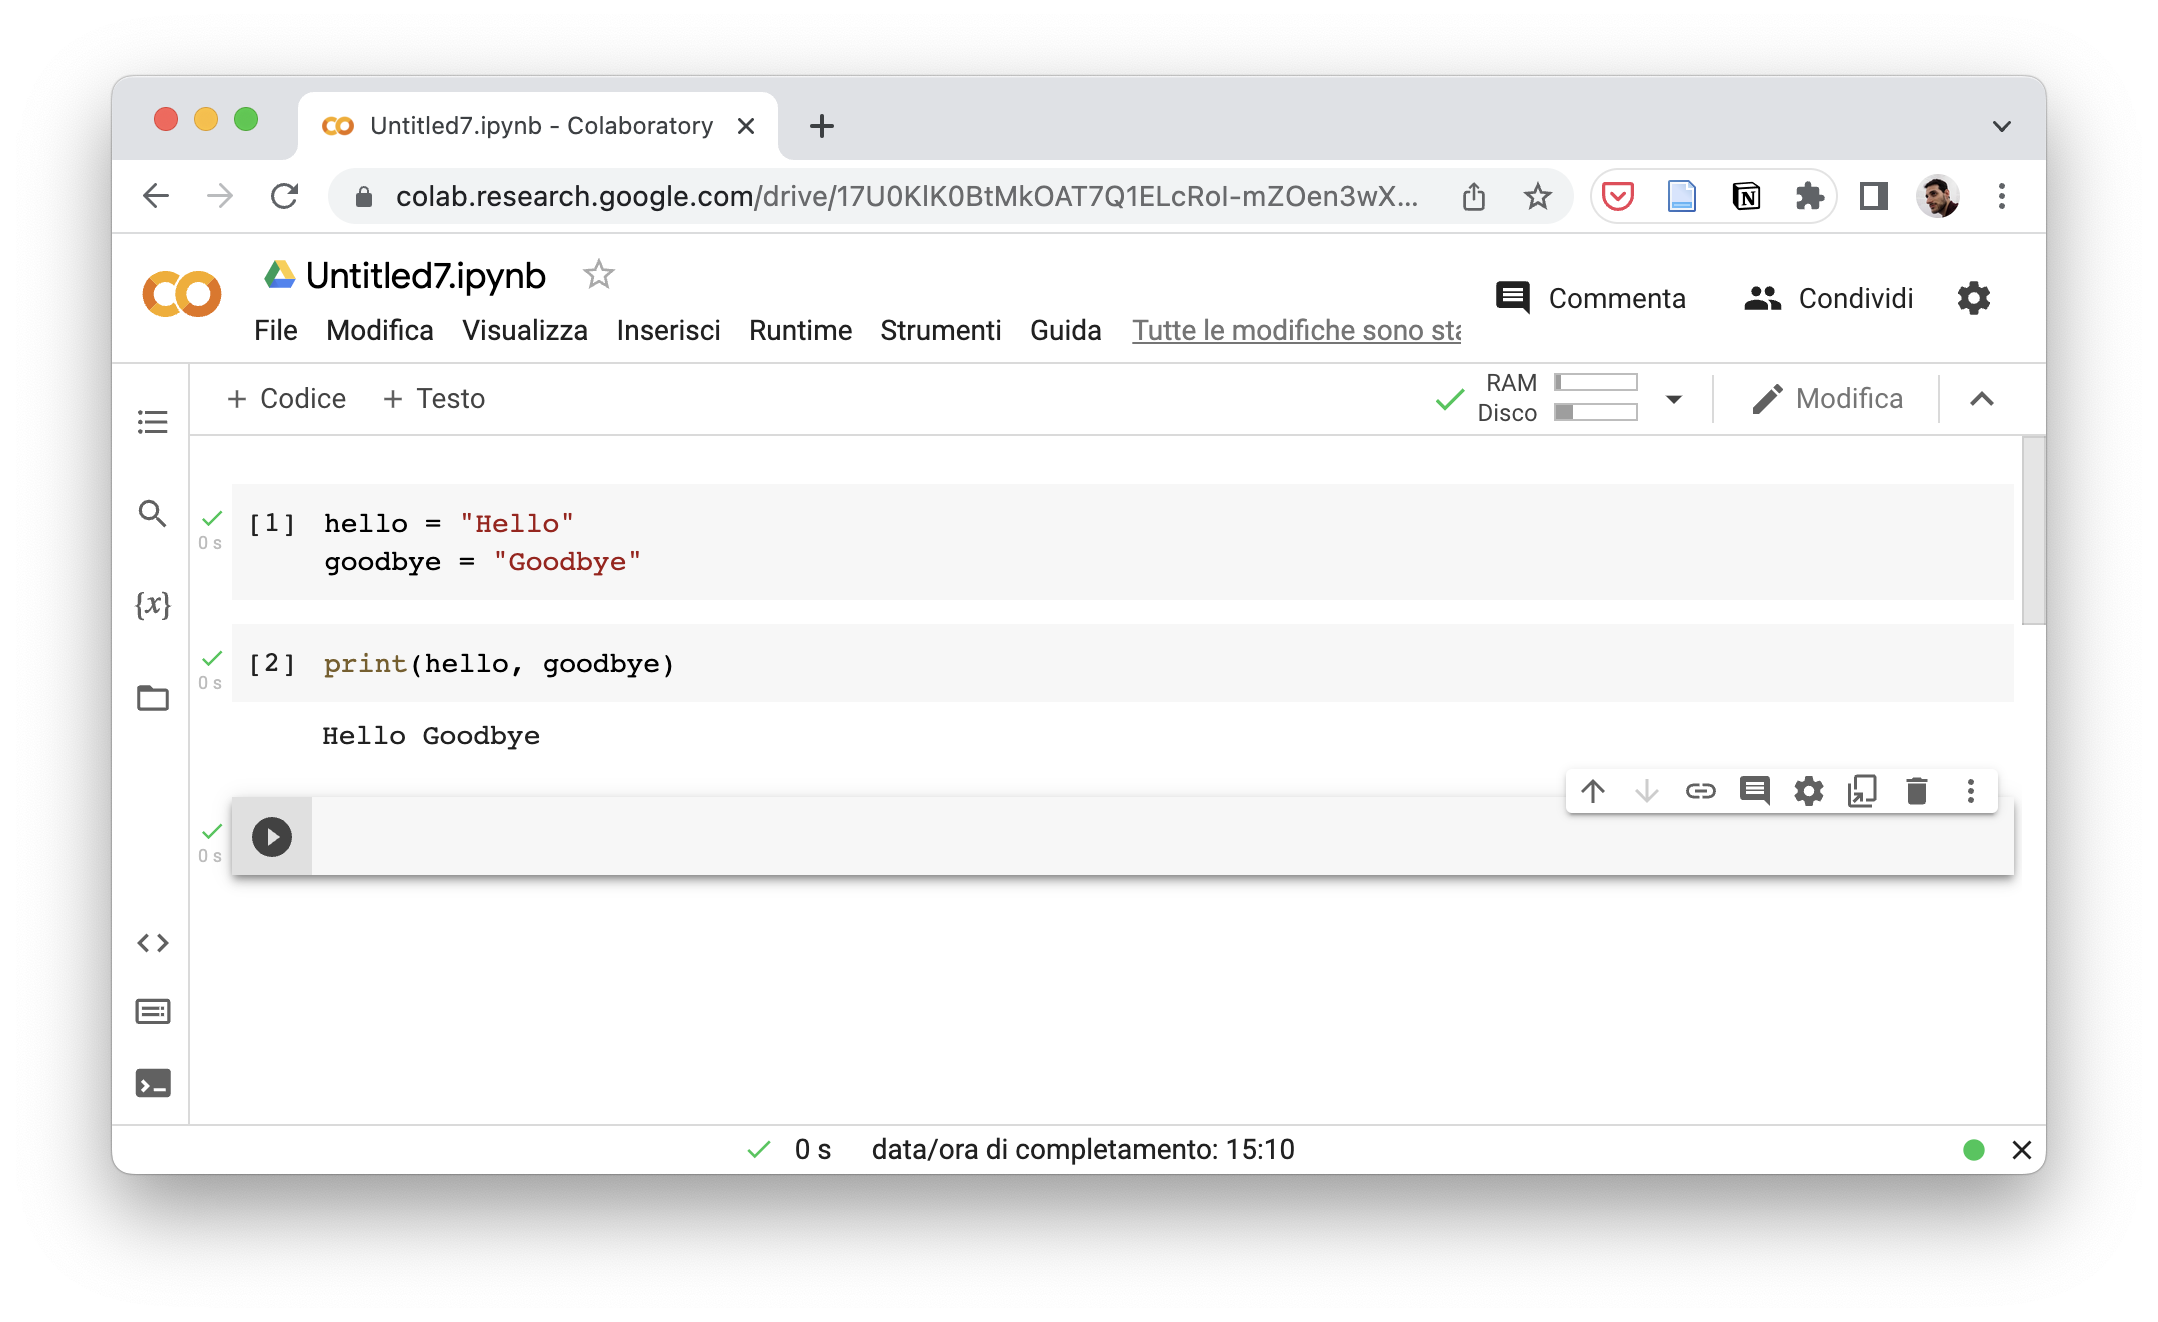
Google Colab#
As an alternative to installing a work environment on your own computer, you can use a free service provided by Google called “Colab”: https://colab.research.google.com/
The service provides Python notebooks (similar to Jupyter) with GPU support.
In Google Colab, we will find the main packages already installed, but we can install additional packages using commands like:
pip install sklearn
Limited Resources#
Google Colab is an excellent tool for experimenting or conducting small experiments. However, keep in mind that resources are limited, and GPU access may be revoked after a few hours of computation or if the machine is idle for a long time. Therefore, it might be difficult to use it for medium-to-large projects.
Data Persistence#
With each notebook execution, Google Colab provides a temporary storage space where you can write and read data. Every time the notebook is closed and reopened, this space is cleared, and its content is deleted. If you want to access persistent storage, you can mount a specific folder from your Google Drive by running a cell with the following code:
from google.colab import drive
drive.mount('/content/drive/path/to/folder')
Where /path/to/folder is the path to the folder within your Drive.